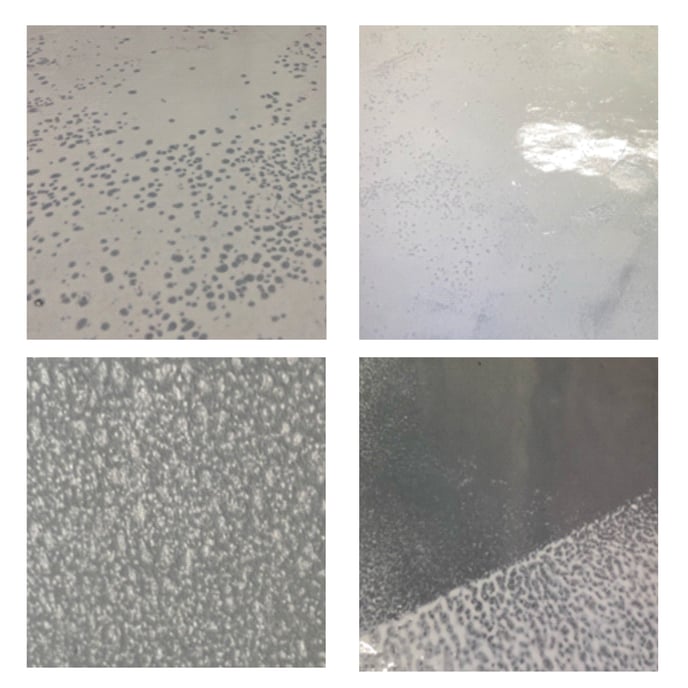
What is it?
This is an issue known as “Orange Peel Effect”, often identified by small, separated patches of pigment across the surface.

The effect occurs as bubbles that are being released from the substrate or encapsulated air bubbles from rolling, pass up through the curing paint and burst at the surface. When the paint is early into its cure, the bubble will burst, and the paint is thin enough to flow back into the crater that has been formed.
Later in the cure, however, the paint can become too thick and is unable to flow back into the crater as the bubble bursts. This leaves a surface with numerous minor craters that look like orange peel.
Common Causes
In Primers – This generally occurs due to temperature, if the product is applied to a cold floor/countertop and then heated up via external or internal heat (underfloor heating/air con, etc) then this can cause the solvents to evaporate faster, resulting in an effect known as “shrinkage” which causes orange peel effect.
In High Builds – Exceeding the pot life or working time can result in the product rapidly thickening, meaning the product has a reduced flow and will be more prone to roller marks, causing the orange peel effect.
So, how would I resolve this?
- It is recommended that you sand the coating back to remove as much of the coating as possible.
- Thoroughly vacuum the area in order to ensure that no debris remains.
- Before reapplying the coating, please ensure that underfloor heating has been turned off 48 hours in advance and remains off during the curing process.
- Re-apply the new coat of paint.